Why do you need Drone Filters?
On older drones, such as the Phantom 3 and 4, the aperture is locked at F 2.8, meaning that the only way to successfully obtain proper exposure is to increase your shutter speed. This increase in shutter speed, will often time result in what is known as the “jello effect”, or to simply put it, shaky footage. Depending on the angle you are filming at, your camera may even pick up the edge of your propeller blades, leaving you with an obstructed view and choppy footage.
Newer drones, such as the Phantom 4 PRO and Phantom 4 Advanced, give operators the ability to manually adjust aperture settings, allowing for an enhanced cinematic look. While these exciting new opportunities for filming at a slower shutter speed broaden one’s potential for image capture, they can also present the challenge of maintaining proper light balance. In order to help combat this potential overexposure of light, a Neutral Density filter can now be placed and regularly used on one’s drone camera.
By using a Neutral Density Filter, a certain amount of light will be blocked from reaching your sensor. By limiting the amount of light that comes in contact with the sensor, you will be able to operate or shoot at slower shutter speeds, and a lower aperture, helping you to successfully achieve a cinematic look.
Check out this review from our friends at Dronegear
What is the recommended shutter speed for filming on a drone?
In cinema, the standard frame rate is 24 frames per second (FPS). The best way to determine your shutter speed is to double your FPS.
24FPS – Recommended Shutter Speed 1/50th of a second
60FPS – Recommended Shutter Speed 1/120th of a second
120FPS – Recommended Shutter Speed 1/240th of a second
What ND Filter should I use?
When you set your desired frame rate (FPS), you should then try to reach the appropriate recommended shutter speed listed above.
Example.) It is a bright sunny day with only a few clouds in the sky. You would like to film at 24FPS. Your drone’s sensor determined that your recommended shutter speed is 1/1000th of a second. This shutter speed is too high for cinematic results.
To achieve the cinematic look, you are going to want to add an ND Filter to your drone’s camera lens.
To get down to the recommended shutter speed of 1/50th of a second, you would want to add a 4 Stop (ND 16) Filter. This will cut the amount of light from reaching the camera’s sensor, allowing you to achieve cinematic settings.
Why use a Polarizer on a drone?
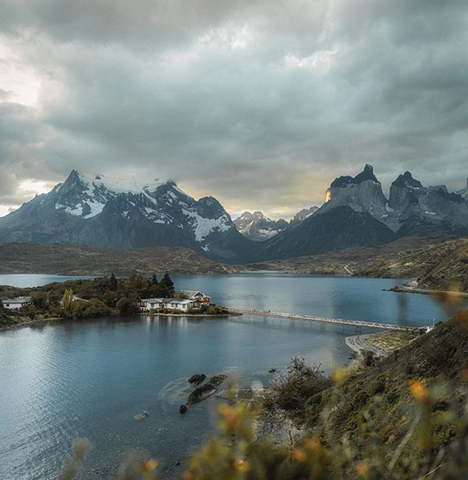
Think of a polarizer as sunglasses for your drone. Polarizing filters provide color and contrast enhancement. Often times, reflected light shows up as whitish glare that washes out the color in an image. A polarizing filter corrects this problem by producing deep, dramatically blue skies, making clouds pop off the background. This filter will also remove glare from non-metallic surfaces, such as windows and water. Color saturation in general, especially outdoors, can also be significantly improved by using polarizing filters.
When the shutter speed isn’t an issue, you should use a polarizer for more dramatic results.