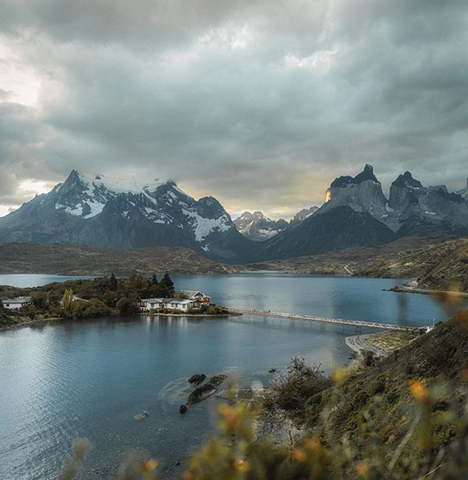
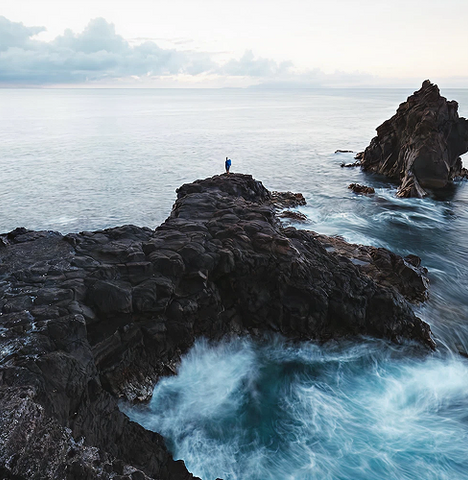
Aerial views provide a unique perspective on landscapes and cities. With the proliferation of drones there are more opportunities than ever to get out and take photos from above ground. While the image quality from drones has increased, most of the popular drones such as the DJI Mavic Pro 2 and Phantom 4 series, still don’t measure up to what you get from your DSLR. As such, it is important to take a few steps to take better photos. Let’s talk about some tips on how to take and edit drone photos.
Taking Drone Photos:
There are a number of ways to improve the quality of the images that you take with your drone. Some of these are settings within the camera and others are external factors. Here are my top 5 tips to improve how to take drone photos.
- Shoot in RAW. RAW is the uncompressed and unprocessed version of a photograph. A JPEG is a processed and compressed image. You will want that RAW file for when it comes time to edit as it gives greater freedom when post-processing. For DJI drones, head to your “Settings”, click the “Camera Icon”, then “Image Format”, and “RAW”.
- Bracket Photos. Also referred to as AEB (Automatic Exposure Bracketing). The more AEB images you capture in RAW the more varied exposure you can capture without adjusting any other settings of your photos. A 5 Bracket AEB (recommended for drone photography) will take 1 photo at the settings you select and 2 different under exposed images and 2 over exposed images. Note that using the HDR shot function in DJI GO 4 will create a JPEG and thus is not a recommended option as you won’t have the ability to bring out detail in the shadows or highlights like with RAW photos. For DJI drones, head to your “Settings”, click the “Camera Icon”, then “Photos”, “AEB”, and lastly “5”.
- Image Size. 4:3 is the preferred ratio that I use when shooting with my drone as it is a more natural ratio for landscape photographs than 16:9. 4:3 is the native aspect ratio and will allow you to make the most of the photographs that you take. For DJI drones, head to your “Settings”, click the “Camera Icon”, then “Image Size”, then “4:3”.
- Shoot in Manual. Manual mode gives you the most control over your drone and the photos you take. New drones like the DJI Mavic Pro 2 give you the option to control your aperture. My go to starting point for daytime shots is f/8.0, ISO 100, and then adjust the shutter speed accordingly. All of these settings will vary depending on the light and subject that I am shooting.
- Use Filters. Just like when taking photos with your DSLR on the ground, it is imperative to use filters. ND (Neutral Density) and Polarizing filters are critically to controlling the light and glare that exists in a scene. Using filters allow a photographer greater control over their aperture and shutter speed among other things. Lastly, don’t go cheap on your glass! High quality glass and filters will make a difference in your images. I recommend filters by the Tiffen Company – check out their new filters for the DJI Mavic Pro 2 here.
Photo courtesy of Lei Deng (@rockydeng)
Bonus Tip – Photograph early in the morning or late in the day. The light is much softer and you’ll get better results whether the sun is behind you, off to the side, or if you are shooting straight into it.
Ritz-Carlton Bachelor Gulch captured in early morning light.
Editing Drone Photos:
Ok, so you captured that epic shot using the 5 tips above. Now what? Here are my 5 top tips for editing your drone photos.
- Merge Bracketed Photos. For each shot that you took, you have a 5 bracketed exposure thanks to AEB. Merge these together using programs like Lightroom, LR Enfuse, or Aurora HDR. Each program provides a different look and gives you different editing opportunities so it may take some practice to learn which one works best for your style. No matter which program you use, you’ll get a .TIF file that should provide a balanced photograph that you can edit into the image you want to create. Here we have an original single photo along with the bracketed and merged photo.
- Global Adjustments. Adjust your exposure first as necessary. Then lower your highlights and increase your shadows as you see fit. Lastly, hold “option” (Mac) or “alt” (PC) while moving the white and black sliders so you can see where you will begin to lose shadow detail or blow out your highlights. This now should provide you a more property exposed image as well as an image with good contrast. On the left is the original photo and the right is the final edited version (sky and light beam added in Photoshop).
- Sharpen. Sharpening your images is critical to make those edges stand out as you don’t want your image looking soft. Programs like Lightroom have the sharpening tool under the “Detail” tab. Remember, a little goes a long way and you don’t want to over-do it. Zoom in to about 400% and start at about 20. For a quick and easy way to sharpen your images, watch this YouTube Tutorial.
Sharpened Image
-
Remove Chromatic Aberrations. Chromatic aberration (CA) occurs in photos and gives you that color fringing around edges in photographs. Lightroom has a checkbox under “Lens Corrections” tab. Don’t finish editing your photographs without checking this box. It may not solve all your CA issues, but it is a good start. If additional CA removal is needed, head into Photoshop for that.
- Cropping/Vignette. While these are two very different features, I am bundling them together here as they can be used to highlight an area of your image. You can crop in to really bring the viewer into your scene. You can also use the vignette tools in Lightroom (“Effects” Tab) to bring the viewers eyes to the middle, or a radial filter to draw create a custom vignette that highlights where you want the viewer to go.


